ServiceHow to replace the boom cover

Manuel Vogel

 · 19.08.2019

Service: How to replace the boom coverPhoto: Nicholas Sliijk
Service: How to replace the boom cover
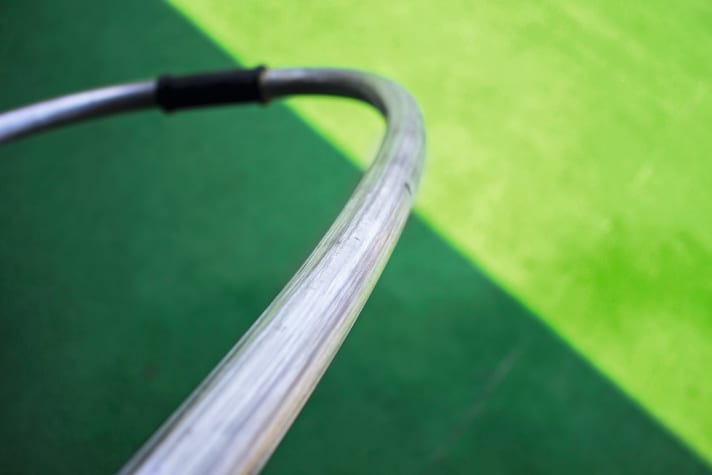
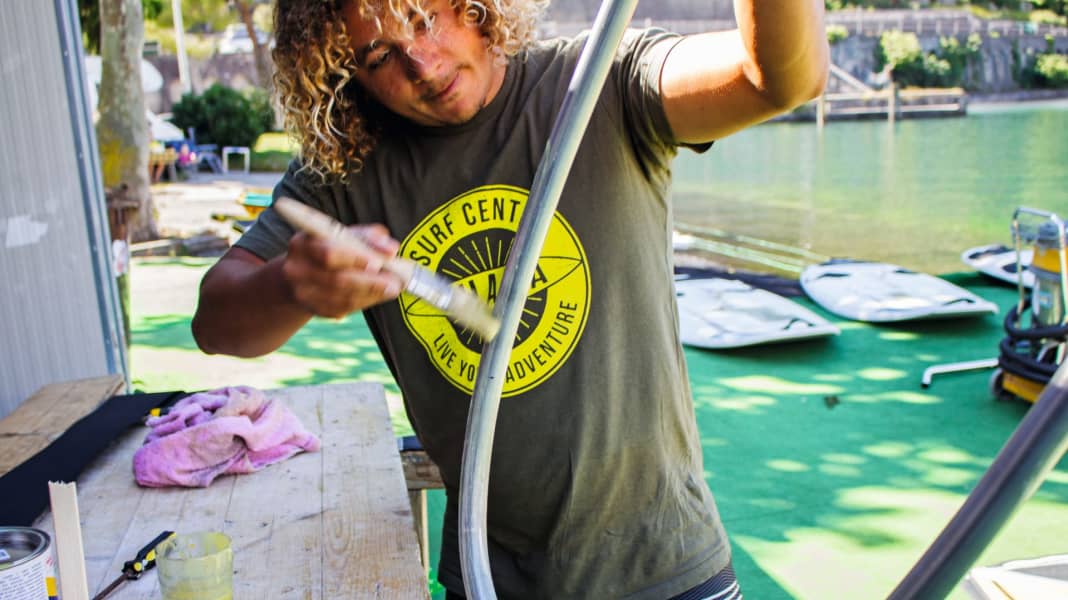
Freshly covered, even the oldest fork feels like new again. With an ingenious trick, the old grip goes down like clockwork before renewal.

Easier than ever

Cutting, grinding, nibbling - that was in the past and hardly worthwhile with an aluminium fork. With a small amount of petrol, however, the old coating can be removed from the fork almost residue-free and very easily. All you need is a polyethylene plastic hose and a little patience. With this super trick from the "A-Team" from the Shaka Surf Centre in Torbole - Ciba and Moabio - replacing the pad is easier than ever before. The following repair works for both aluminium and carbon forks!

You can get the EVA rubber, including original rubbers from Severne, NeilPryde or Aeron, in well-stocked shops at prices between 25 and 35 euros or via an online search (EVA Boom Grip). The grip should be a maximum of two to three millimetres thick.

The adhesive used here is "Bostik 99" (contact adhesive for linoleum, rubber, cork, metal) from Italian retailers. The readily available "Pattex Kraftkleber Gel Compact" also works well, reveals the fork expert from Sport Schneider in Podersdorf.

1. DESTROY
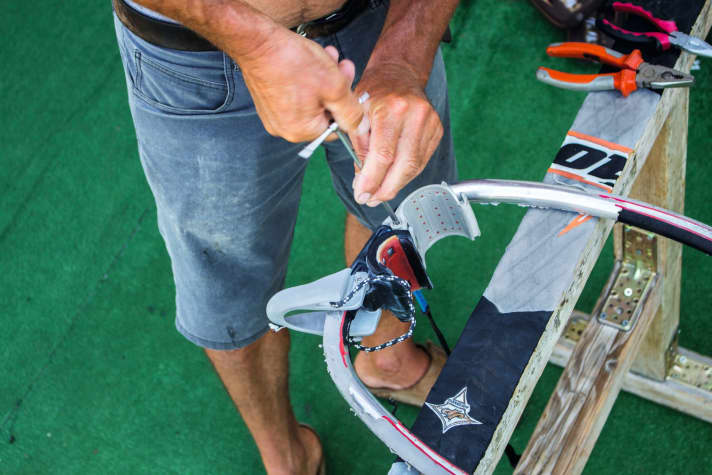
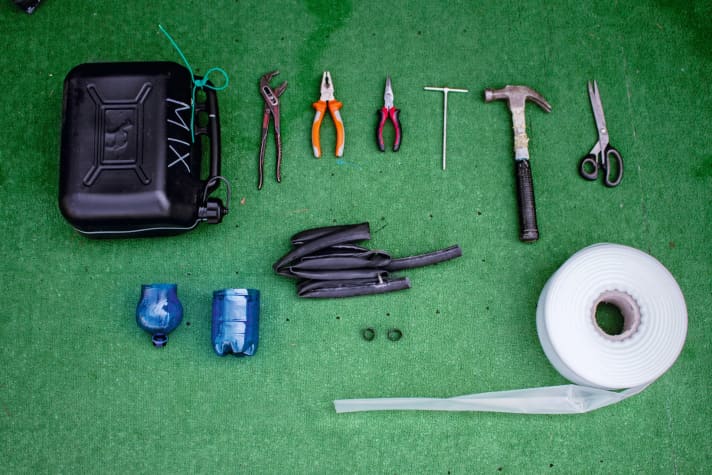
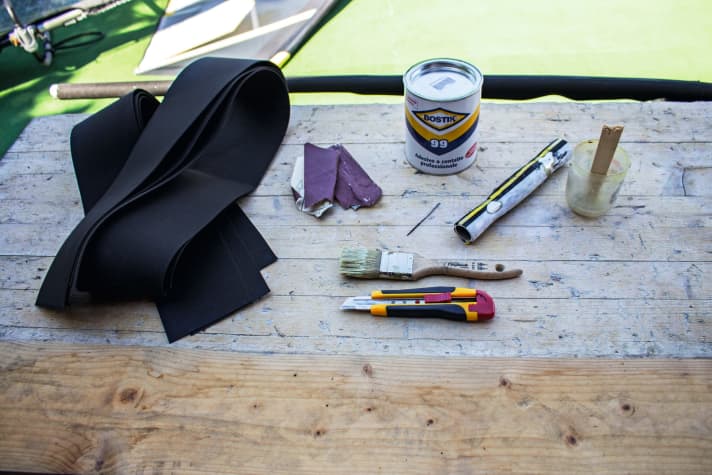
The tools required depend on how your fork is bolted. This is used to remove all attachments from the fork. Glued Varioclips can possibly be loosened under very hot water.Photo: Nicholas SliijkThe tools required depend on how your fork is bolted. This is used to remove all attachments from the fork. Glued Varioclips can possibly be loosened under very hot water.Prepare the required repair materialPhoto: Nicholas SliijkPrepare the required repair material

2. PACKING

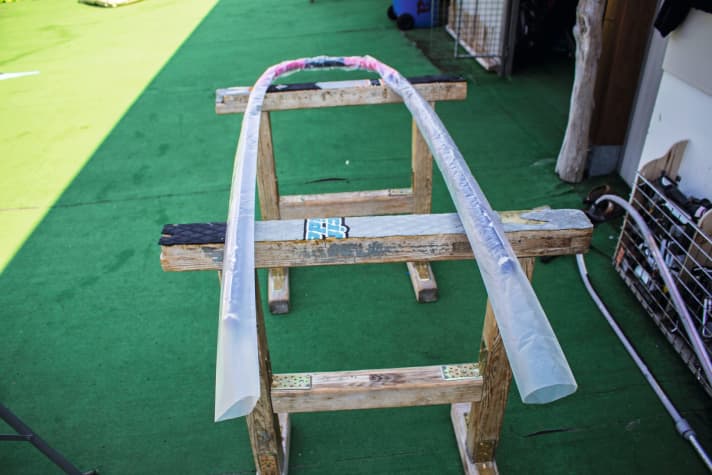
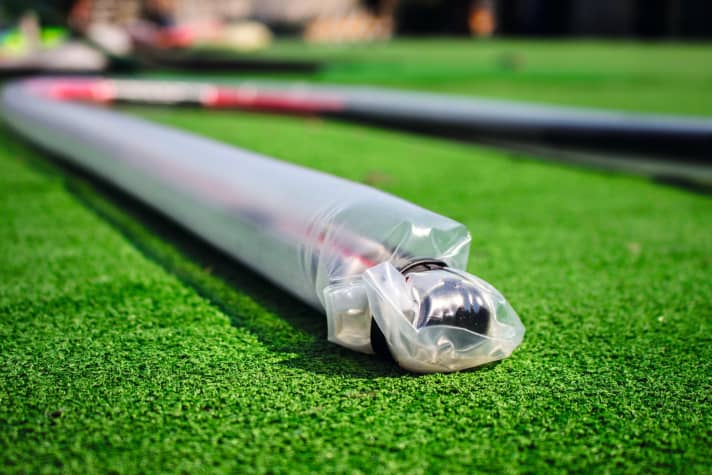
The fork is packed in a petrol-resistant polyethylene hose (available as a roll in DIY stores) ...Photo: Nicholas SliijkThe fork is packed in a petrol-resistant polyethylene hose (available as a roll in DIY stores) ...and one end well closed.Photo: Nicholas Sliijkand one end well closed.

3 CHEMIELABORATORY

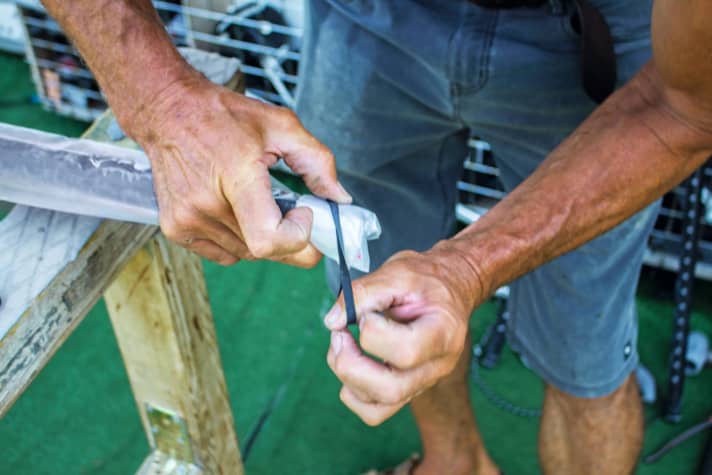
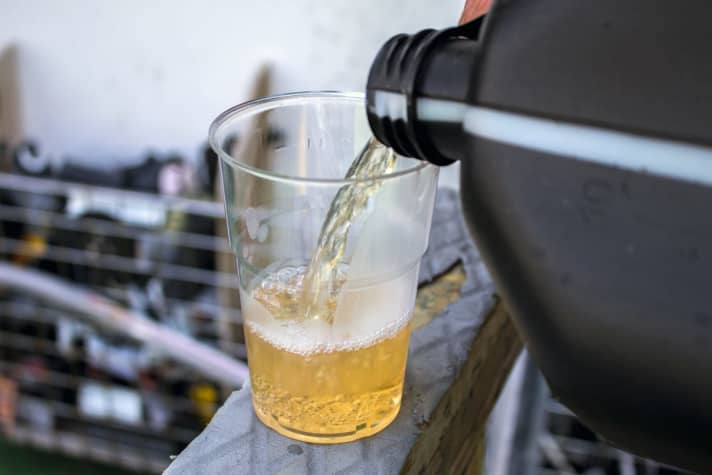
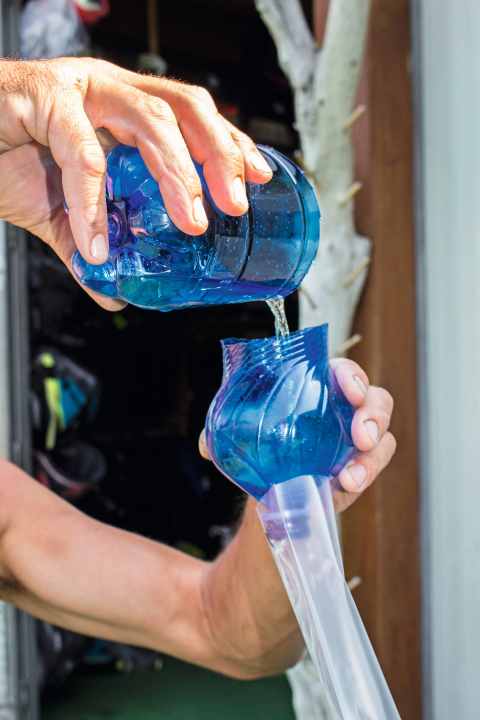
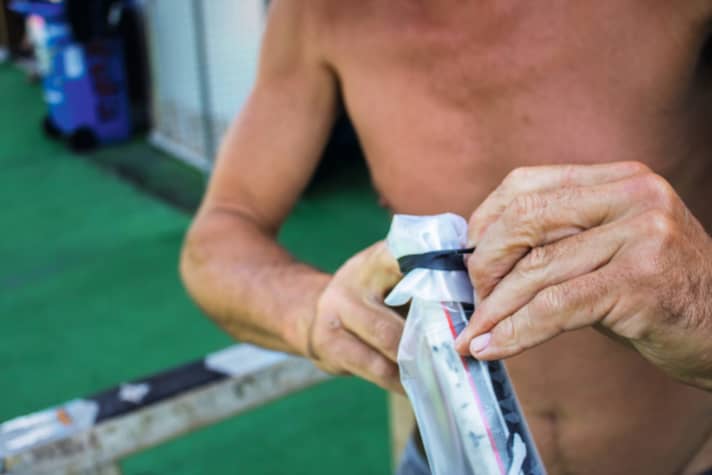
Measure out about 1/4 litre of petrol.Photo: Nicholas SliijkMeasure out about 1/4 litre of petrol.Carefully pour the 1/4 litre of petrol into the open side. To be on the safe side, wear rubber gloves as the benzene contained in the petrol is not exactly healthy!Photo: Nicholas SliijkCarefully pour the 1/4 litre of petrol into the open side. To be on the safe side, wear rubber gloves as the benzene contained in the petrol is not exactly healthy!The second opening is then sealed as airtight as possible. Ciba uses a narrow strip of an old bicycle inner tube as a well-holding rubber.Photo: Nicholas SliijkThe second opening is then sealed as airtight as possible. Ciba uses a narrow strip of an old bicycle inner tube as a well-holding rubber.

4. SHAKEN, NOT STIRRED

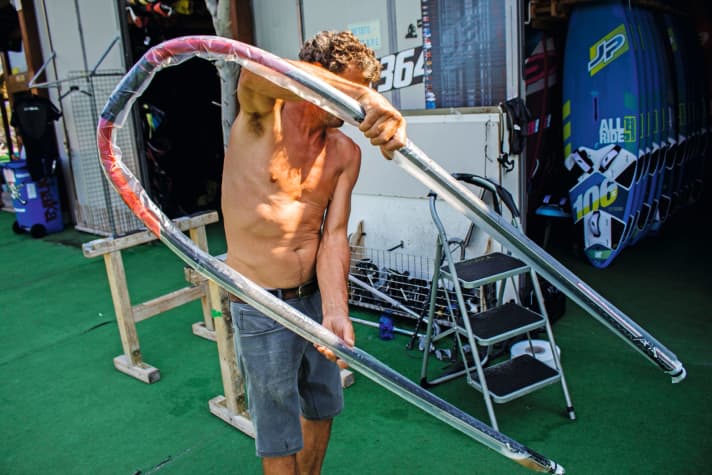
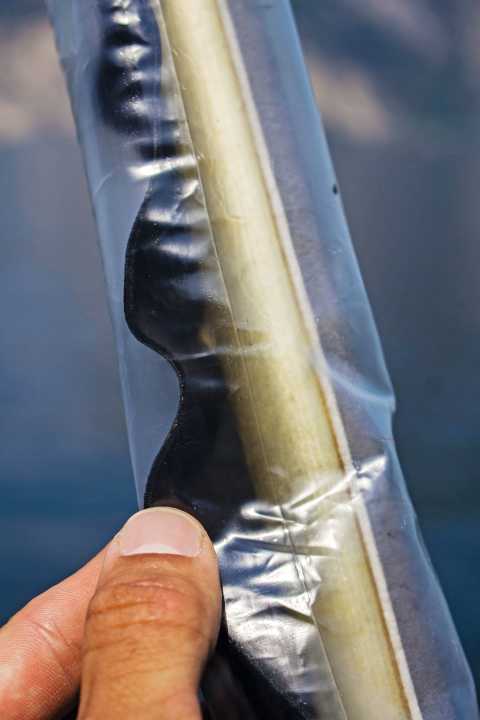
The petrol is distributed well in the hose and the fork is then placed in the sun.Photo: Nicholas SliijkThe petrol is distributed well in the hose and the fork is then placed in the sun.The hose inflates quickly - a good sign that the chemical process is starting.Photo: Nicholas SliijkThe hose inflates quickly - a good sign that the chemical process is starting.
After about an hour, the coating is already detached from the spar in the hose.Photo: Nicholas SliijkAfter about an hour, the coating is already detached from the spar in the hose.

5 STREAPTEASE

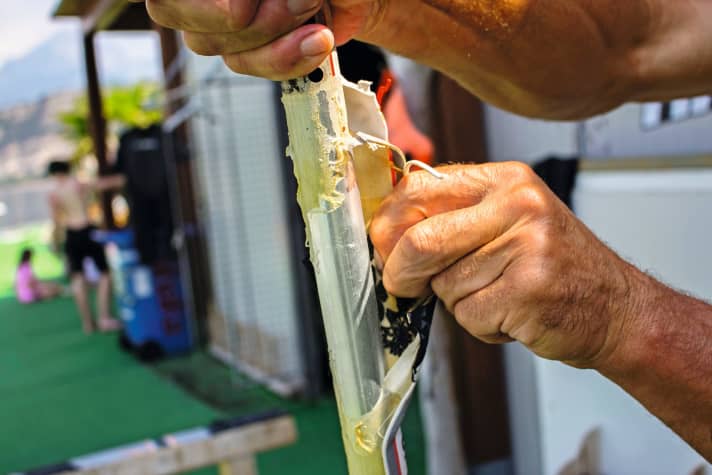
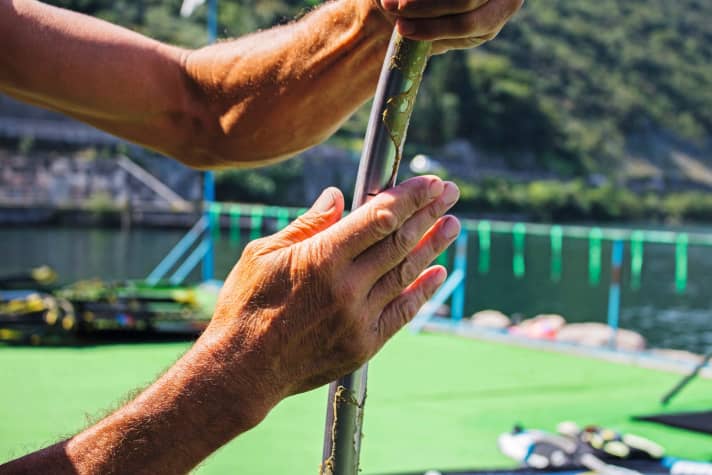
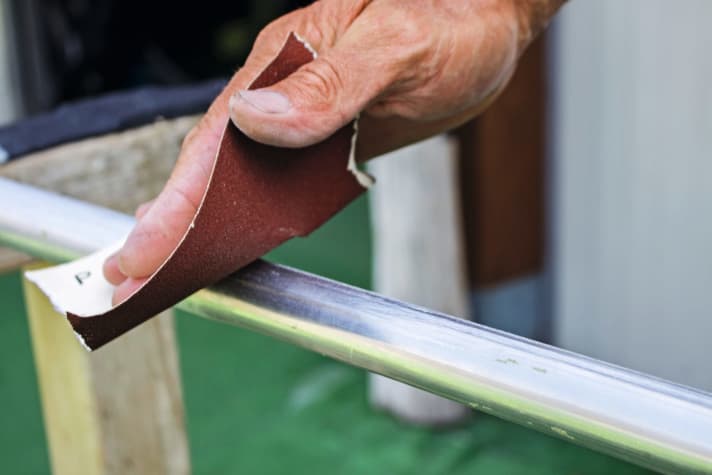
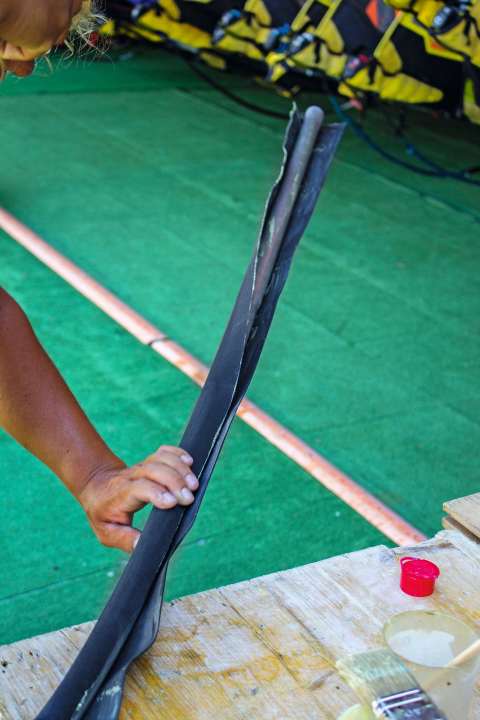
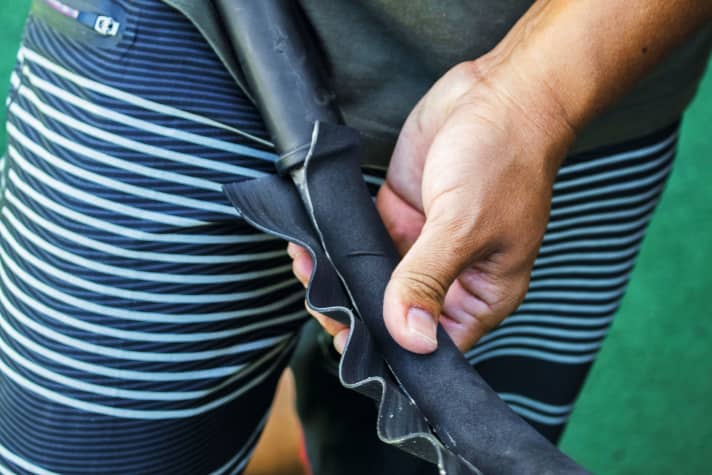
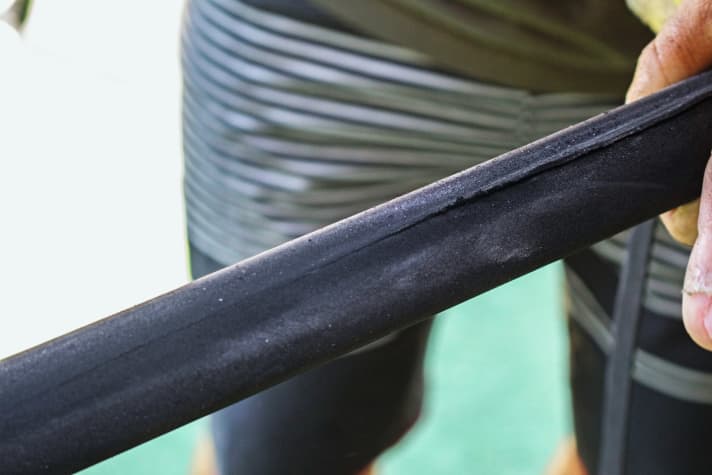
Simply peel off the now soft coating, ...Photo: Nicholas SliijkSimply peel off the now soft coating, ...rub off and ...Photo: Nicholas Sliijkrub off and ...... If at all necessary, sand down finely at the end with 400 grit.Photo: Nicholas Sliijk... If at all necessary, sand down finely at the end with 400 grit.If necessary, degrease with brake cleaner or acetone afterwards. Never use turpentine (contains oil).Photo: Nicholas SliijkIf necessary, degrease with brake cleaner or acetone afterwards. Never use turpentine (contains oil).

6. BONDING

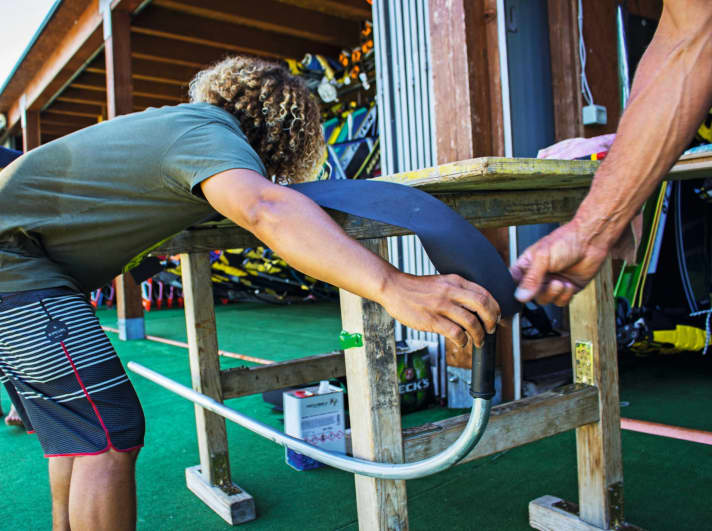
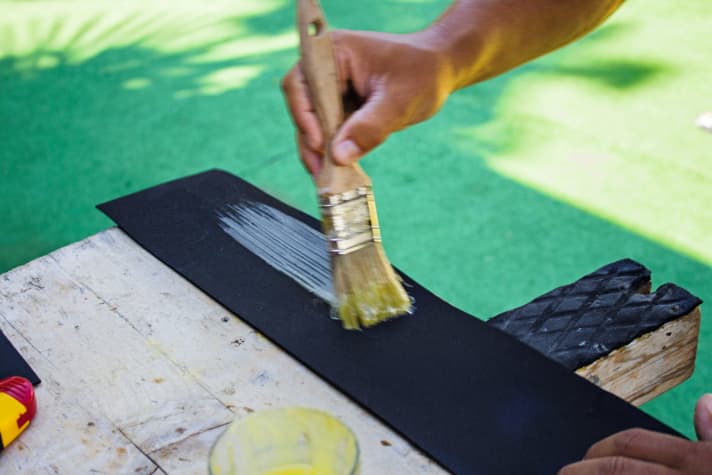
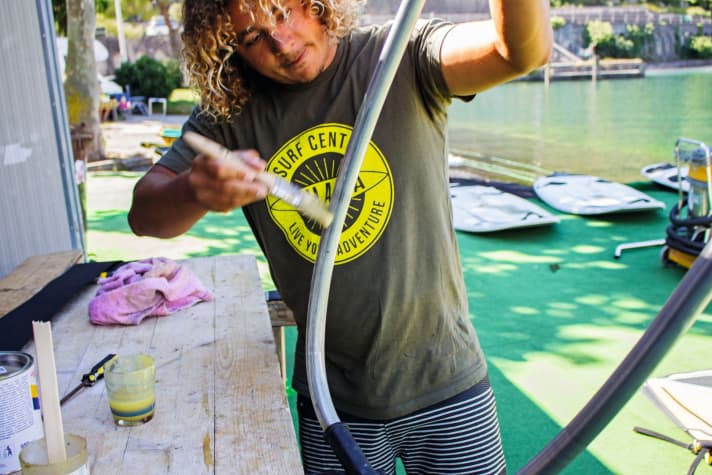
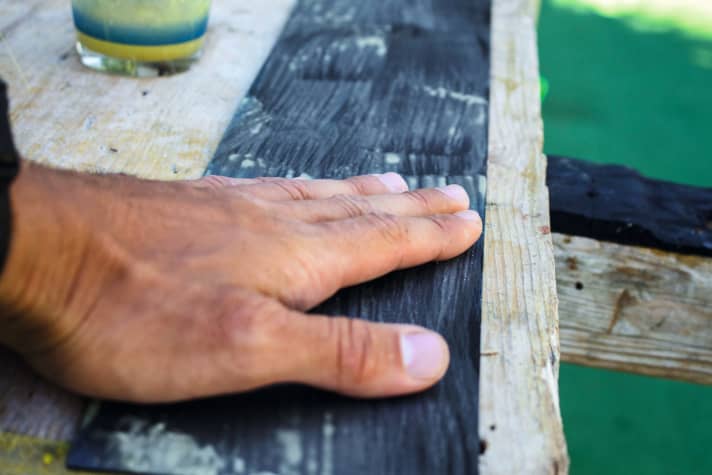
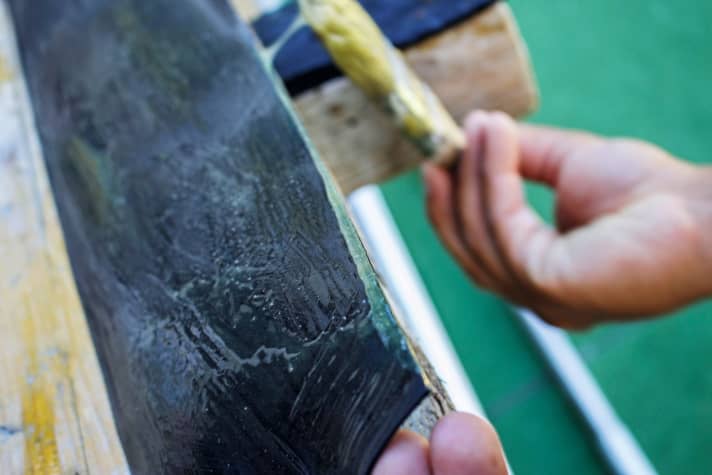
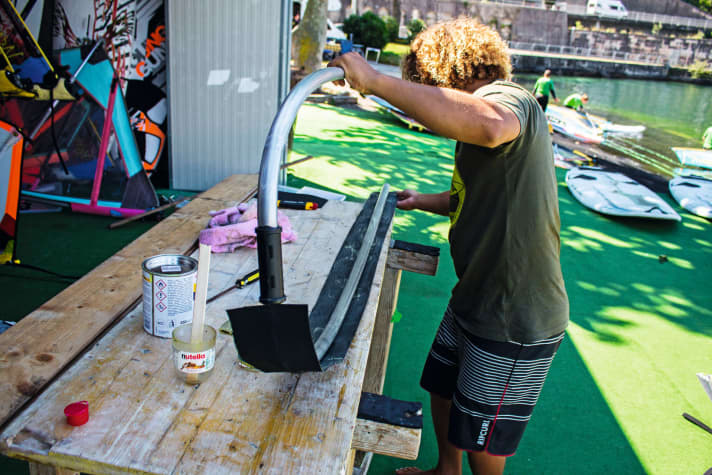
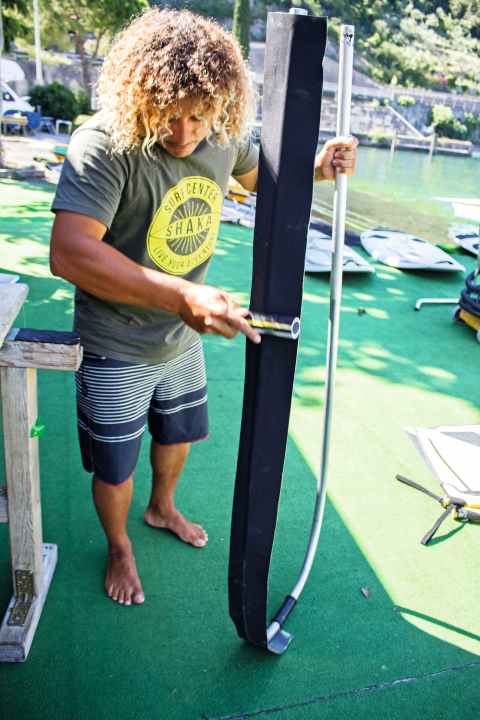
Prepare all the parts required for gluing.Photo: Nicholas SliijkPrepare all the parts required for gluing.Measure the length on a stable work surface and cut to size.Photo: Nicholas SliijkMeasure the length on a stable work surface and cut to size.Then carefully remove the coating on one side and ...Photo: Nicholas SliijkThen carefully remove the coating on one side and ......brush the fork all round with glue.Photo: Nicholas Sliijk...brush the fork all round with glue.Allow both to dry.Photo: Nicholas SliijkAllow both to dry.
Coat one long edge of the topping well with adhesive.Photo: Nicholas SliijkCoat one long edge of the topping well with adhesive.

7. PRESS

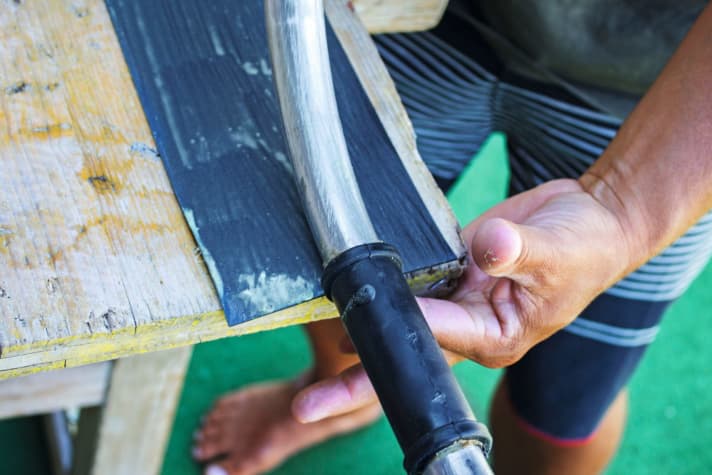
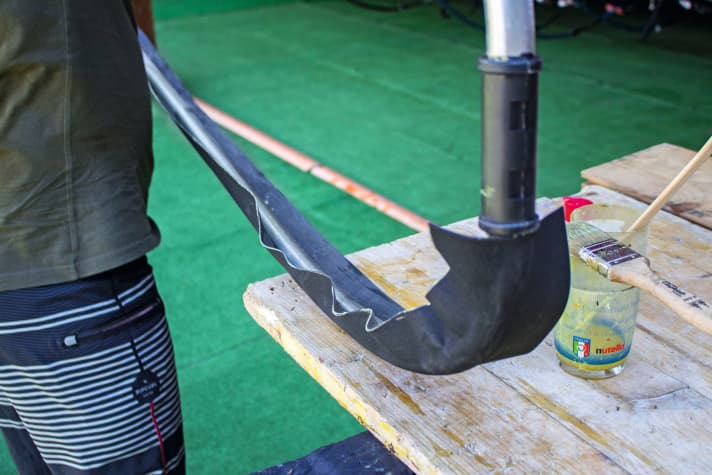
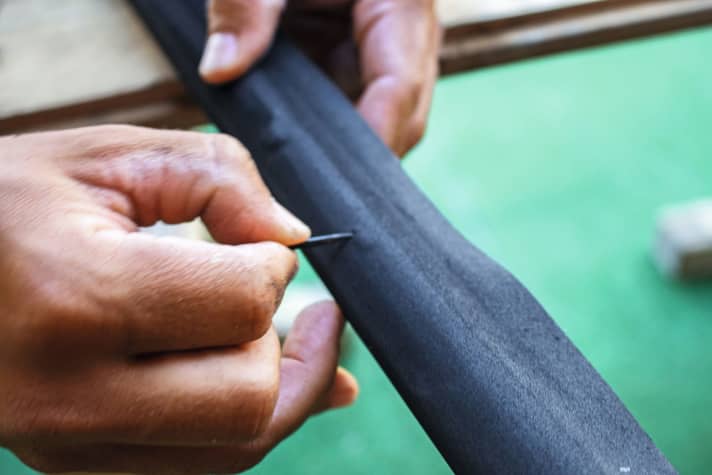
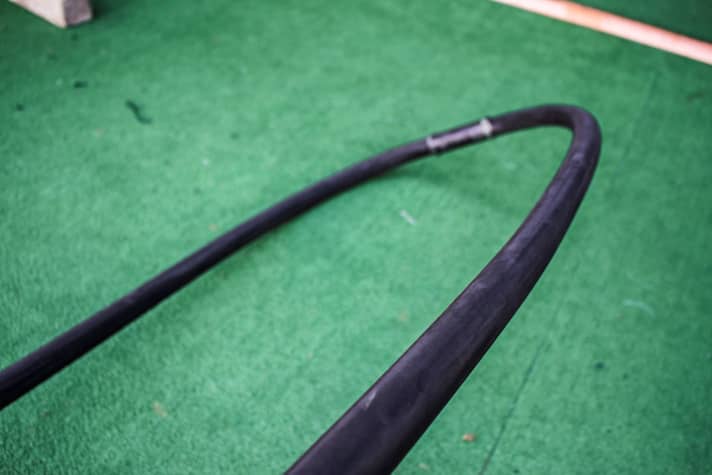
Place the facing so that the cut edge is on the inside of the fork.Photo: Nicholas SliijkPlace the facing so that the cut edge is on the inside of the fork.Place the side with adhesive on the long edge first...Photo: Nicholas SliijkPlace the side with adhesive on the long edge first......press on...Photo: Nicholas Sliijk...press on......and press on the other side, overlapping well.Photo: Nicholas Sliijk...and press on the other side, overlapping well.A hard pipe is helpful when pressing on.Photo: Nicholas SliijkA hard pipe is helpful when pressing on.Small creases and bubbles cannot be prevented in the bendSmall creases and bubbles cannot be prevented in the bendPrick small air bubbles with a thin needle and press the coating back on.Photo: Nicholas SliijkPrick small air bubbles with a thin needle and press the coating back on.

8. CUTTING AND SANDING

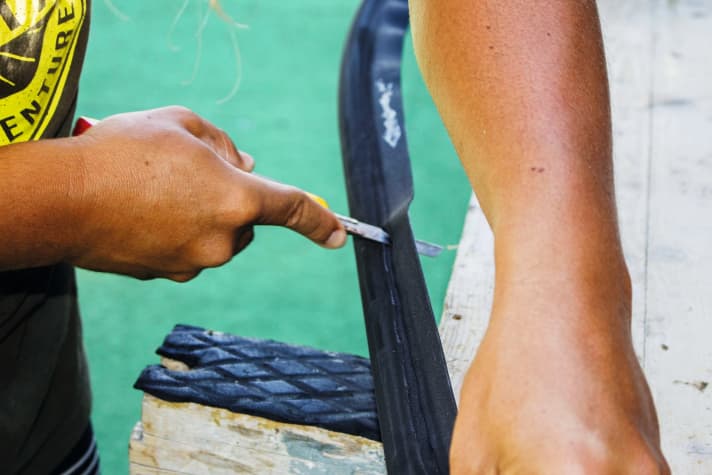
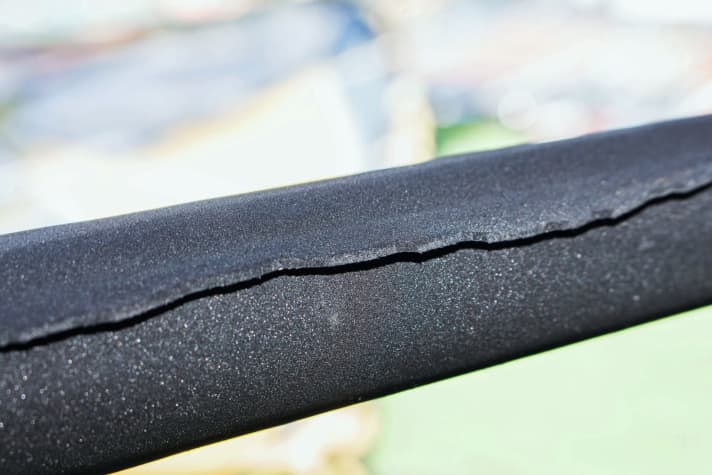
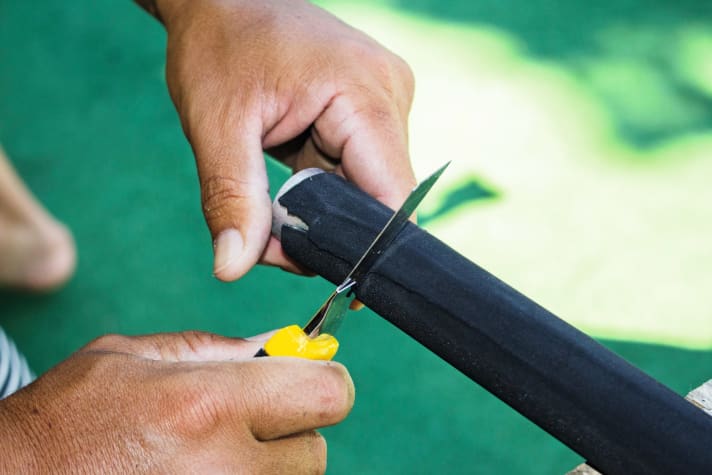
Cut off the excess with a really sharp cutter at an angle and not too close.Photo: Nicholas SliijkCut off the excess with a really sharp cutter at an angle and not too close.The coating still overlaps at the interface...Photo: Nicholas SliijkThe coating still overlaps at the interface......but after a little sanding the transition becomes harmonious againPhoto: Nicholas Sliijk...but after a little sanding the transition becomes harmonious againPeel off the coating at the ends for the Varioclips.Photo: Nicholas SliijkPeel off the coating at the ends for the Varioclips.If you make an effort, the bars now look like new again. And they grip like new.Photo: Nicholas SliijkIf you make an effort, the bars now look like new again. And they grip like new.The SURF 9/2018 issuePhoto: John CarterThe SURF 9/2018 issue

Most read in category Windsurfing