Take your own water photos: Building instructions for an exclusive photo buoy
Stephan Gölnitz
· 24.10.2025


In this short guide, we show you a few suggestions for a floating selfie stick for windsurfers - for just a few euros. Not the classic Ikea-style instructions that you have to follow step by step because otherwise the last door in the cupboard won't close, but simply a few suggestions that you can of course modify according to your personal requirements and the materials available. First and foremost, you only need three things to make your own photo booth:
- a suitable float
- a long pole that is as light as possible
- a counterweight
- If necessary, a short, suitable threaded rod (sawn-off screw) for attaching the camera at the upper end
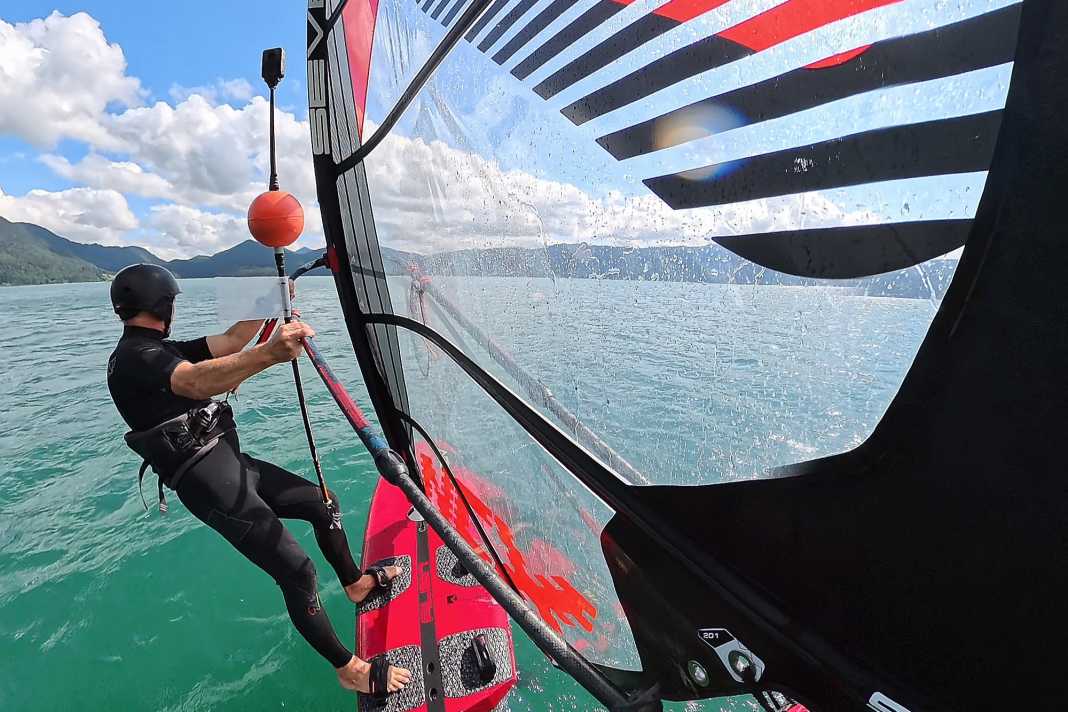
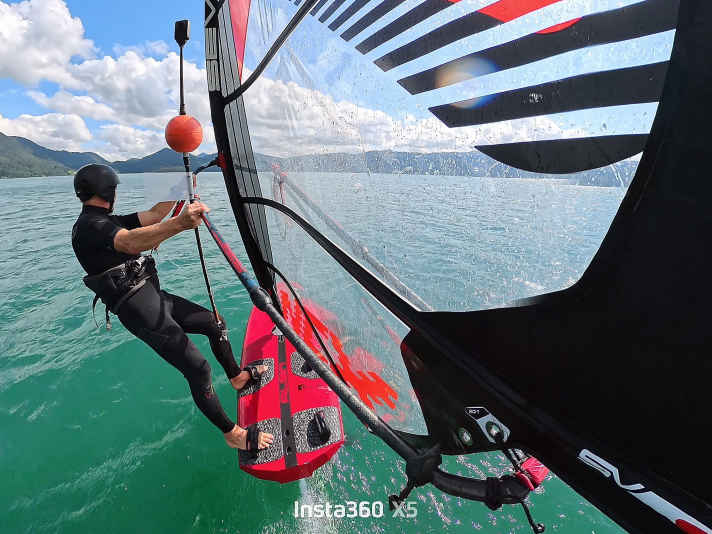
I was attracted by the slightly higher perspective of the camera with this buoy construction, because you can achieve a viewing angle like the one in the following pictures.


Ideas for do-it-yourself construction
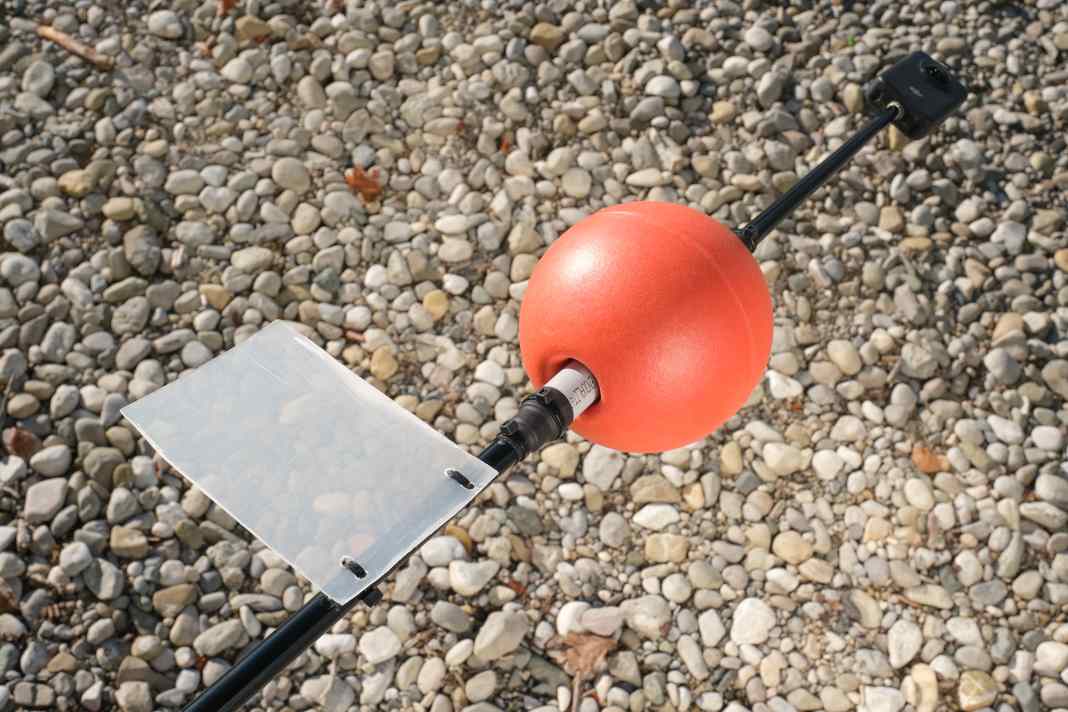
The construction presented here is based on a cross-country ski pole that was left over after the counterpart broke. (Yes, dear family, you have to save everything!) It was made of carbon and very, very light. The floating buoy is from an online accessory, costs around 12 euros and the counterweight is a couple of discarded fishing leads, which are simply attached to an eyelet with a carabiner. The eyelet at the bottom and the thread at the top also come from the cellar's collection and were glued in with epoxy glue (thread at the top) or hot glue (eyelet at the bottom). Care should be taken here, especially on the camera side. A safety line may be useful. The camera can of course also be attached to almost any tube with the typical GoPro clamps without gluing in a thread. The tube was thickened in the centre with a plastic tube and several additional layers of shrink tubing until it clamps into the buoy by itself and then additionally secured above and below with cable ties so that the camera cannot slide down with the stick. However, the weight and the camera at the ends mean that a complete loss is impossible anyway, at least if they are securely fastened. The buoy can of course be fixed to the tube in many different ways using through bolts, screws, hose clamps, tape or adhesive. There are no limits to the imagination.


How the buoy commutes to the workplace
For transport, the counterweight on our buoy can be easily clipped off at the bottom and hooked onto the harness, for example. The camera can usually be stowed under the neo and mounted on site. Of course, caution is advised here, as cameras such as Insta 360, GoPro or DJI sink like a stone without an additional float. If you feel confident enough, you can of course also transport the fully assembled version. However, this requires a little practice. Experience has shown that the buoy is easier to hold with the back hand when surfing.

Rudder for stable drift
Finally, the buoy needs a stabilising rudder, as otherwise it will spin around its centre like a spinning top, which you wouldn't imagine. Here it is a piece of plastic about twice the size of the palm of your hand, which was cut out of an old transport crate and fastened tightly to the buoy with two cable ties and holes. The buoy will now always orientate itself in the direction of travel. You can use the rudder to align the camera angle with a normal GoPro, but this is not possible with a 360° camera.
Safety tips for construction and use
- Always check the buoyancy before putting it in the water for the first time. In our case, the buoy shown with a diameter of 15 centimetres is just sufficient, despite the very light overall construction.
- Because this buoy only protrudes slightly out of the water, it has happened that even on an empty lake without waves you have to search for it for two or three minutes. So you shouldn't move too far away from it to take a run-up for your move.
- An additional safety line, from the camera directly to the float, could be useful.
- Such a buoy should of course not be used in navigable waters, in the main lane at crowded spots and generally just with common sense. If it's that crowded, you're sure to find someone who will sit in the water and hold the camera.
Have fun tinkering and maybe take some nice new pictures from a completely different perspective!

