The good thing about battens is that you normally have little to do with them. And for this reason, the batten tensioners are usually only touched when a batten is broken (Tip: We show you how to replace broken battens here).
Nevertheless, it is important that the batten tensioner on windsurf sails is halfway right, because: If the batten is under-trimmed, the sail will wrinkle and there is a risk that the batten tensioner will fall out when surfing. Especially with newly purchased sails, the battens are often not pre-tensioned. Conversely, over-tensioned battens can lead to the sail's profile not being optimised or even risking damage. So what is important?
How does the batten tensioner actually work?
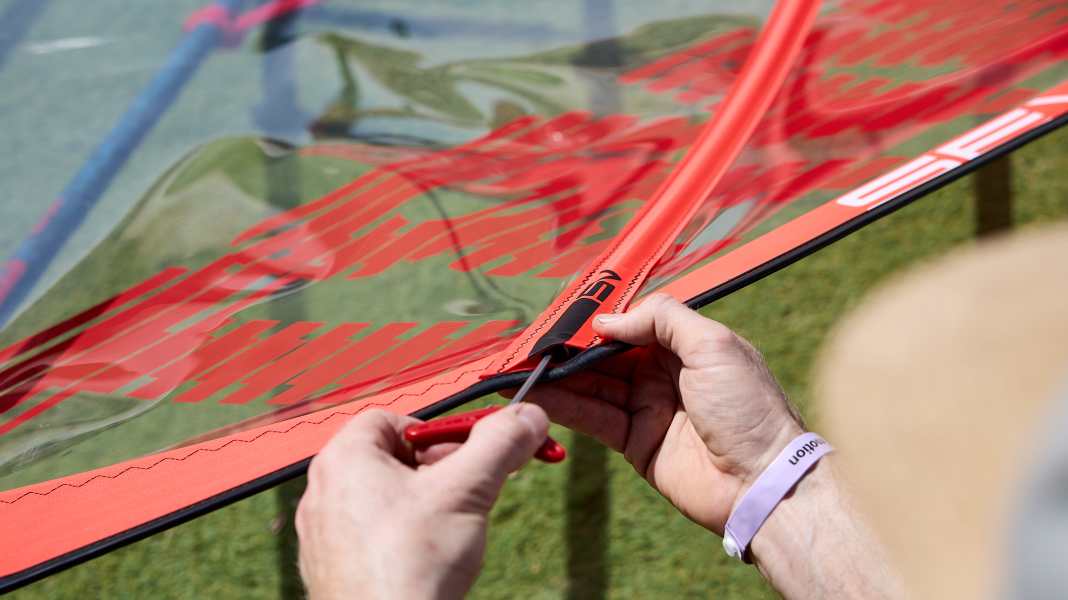
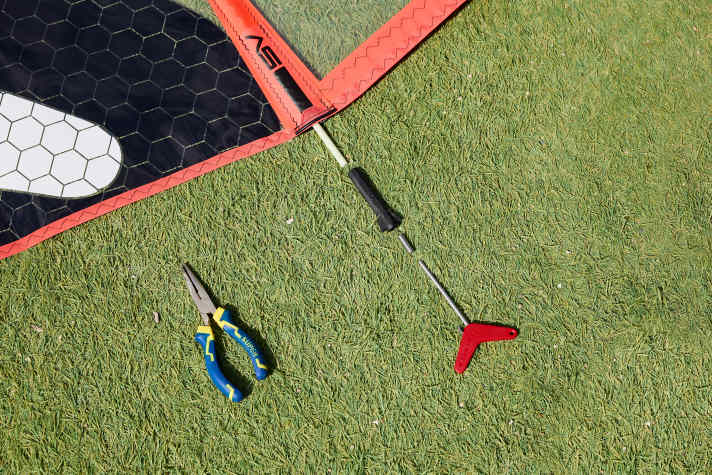
Each batten is slightly shorter than the pocket it is in. A plastic sleeve with a thread is attached to the end of the batten, called a batten tensioner, and fixed to the end of the batten pocket with a small rope. If you now screw in the corresponding screw with the Allen key, you are effectively extending the batten - which tensions it. By the way: The matching Allen key is also commonly referred to as a "batten tensioner" and is usually included with every sail.

Recognising the correct tension of the battens - that's what matters
It is often the case that the batten tension is too low. This can be recognised by small micro-wrinkles in the area of the batten pockets. These are usually only visible if you the rigged and trimmed sail in the backlight.


The right amount is important when retightening. This is achieved when the small wrinkles have just disappeared. Tip: Turn the tool until the mono film is flattened along the batten pockets and then turn a maximum of one or two more turns. Under no circumstances should you keep turning with a lot of force, as overly tensioned battens can cause problems:
- The small rope that fixes the batten tensioner at the end of the batten pocket can break off - then the only solution is to go to a sailmaker
- The seams of the batten pocket can be damaged
- The profile of your sail is negatively affected
- The rotation of batten and camber during manoeuvres can become worse
Turn until the wrinkles disappear and then turn one to a maximum of two more times
If you are not sure whether the battens of your sail are overstretched, relax them until you can see the first micro wrinkles. From this point, turn one or two more turns - done! On the YouTube channel of surf there's also another clear video about this. Click here and subscribe to the channel.
