In this article:
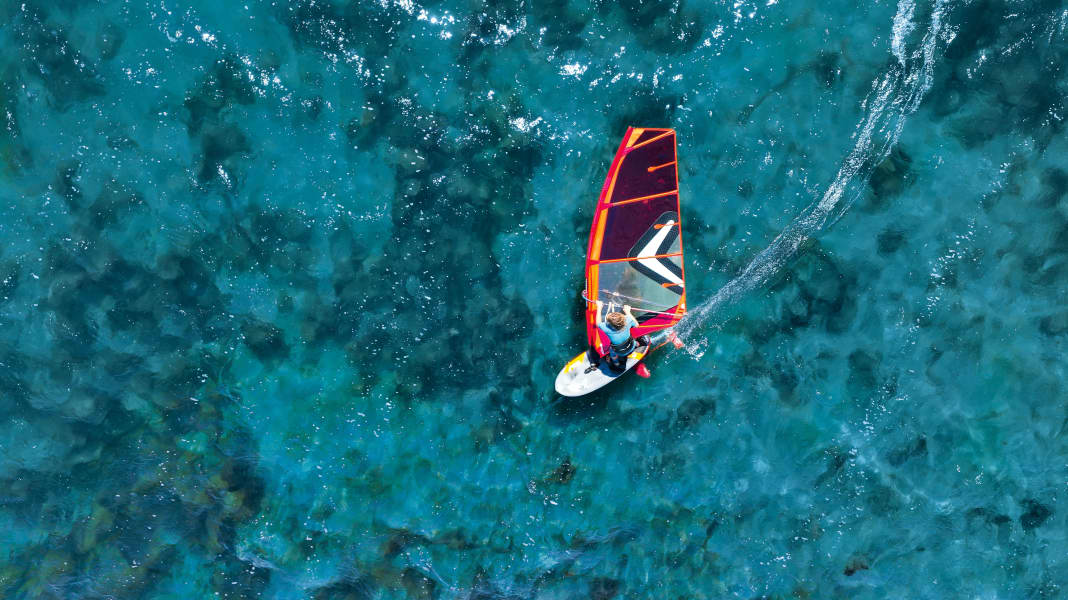
Resistance-free on the orbit. Turning in circles, silently and as efficiently as possible - without losing much speed and using power. Magic? No! With the right technique, this actually works on the foil. What was called the "most pointless manoeuvre of the year" and "not elegant, not easy, not fluid, rather superfluous" in a 1985 edition of surfing is a completely different story on the foil these days. Even if you don't move completely without resistance, you displace much less water on the foil. With a suitable wing, you can glide quite a bit further even without pressure in the sail - and compared to windsurfing on the fin, you can easily overcome the dead spot when the gyro is released, pull tight and continue flying. It's great fun and feels fluid and elegant.
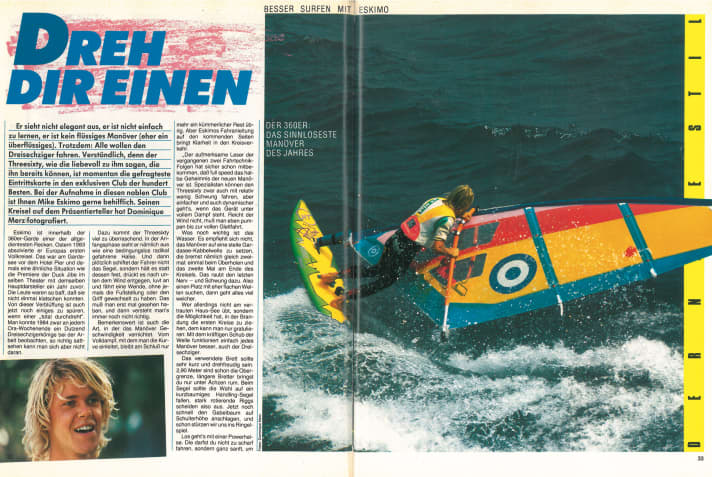
This makes it clear: Foilstyle is not just for freaks like Balz Müller. Anyone who can safely fly straight ahead, turn their first gybes and is familiar with sail control in backwind from normal windsurfing can start turning circles. In the final part of our current series, we'll show you the key points to bear in mind, especially with downwind 360s, in order to maintain the flight phase throughout the manoeuvre and really express the magic of foiling. And for those who are looking for further challenges, we have a number of variations on offer: for example, the one-handed Foil 360 or the Switch Kono, which you can also learn based on the 360. Once you've mastered these, you'll be in the realms of a Balz Müller. And the best thing about it: every new move you learn and every new trick opens up a whole series of new doors - up to the next rung on the trick ladder. And on this ladder, you can then choose the most diverse branches, depending on what you feel like doing - and what suits you best. That's freedom, that's freestyle! Er, foilstyle! Have fun doing tricks.
Material setup for foil style
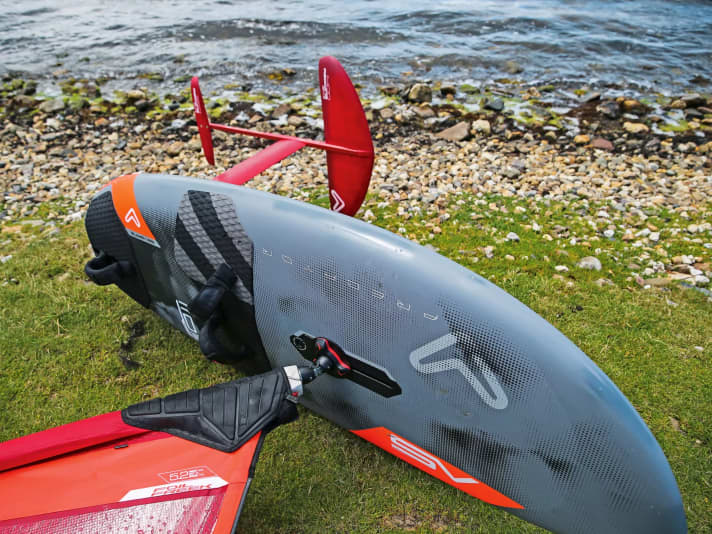
A compact foil board with a centre loop (rear) in combination with a low-aspect cruiser foil is ideal for learning 360s. With a front wing area of around 1300 cm2, this type of foil still generates a lot of lift at relatively low speed. Perfect for gliding through a 360 at the slowest point during the exit. With narrower wings (High-Aspect), which achieve a higher top speed but generally offer less lift, a full 360 requires a lot of practice, experience and, above all, toe sensitivity. If possible, it is therefore better to use a cruiser foil.
A special foil sail is not absolutely necessary at the beginning. The wind range of a conventional freestyle sail is somewhat greater. This can then be trimmed a little more bulbous than usual for foiling and there should be virtually no loose leech at all: Loose leech is generally annoying when foiling and is also not necessary, as you have less overall pressure in the sail on the foil in light winds and active twisting of the leech would not make sense at all.
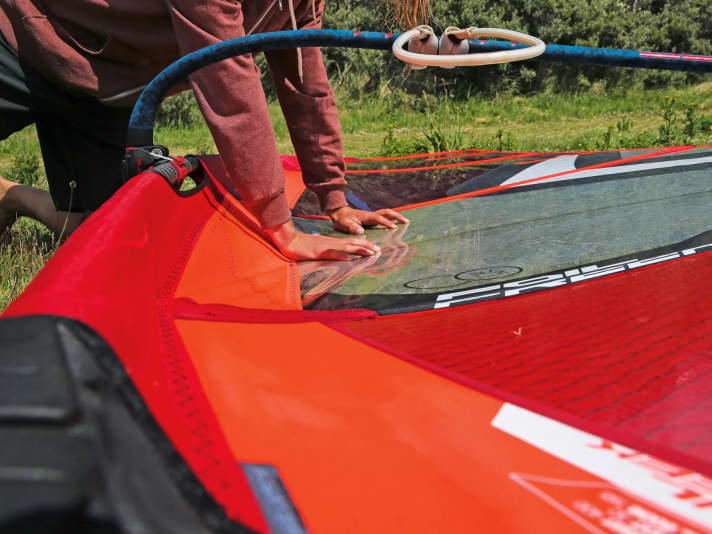
Whilst a normal freestyle or freemove sail for trick riding on the foil has no major disadvantages in sufficient wind, a special foil sail can do a bit more in absolute light winds: these are usually even lighter (unreinforced) and fully designed for maximum propulsion - and can be pumped up in the lightest breeze. On the other hand, in a stronger gust you are quickly overpowered and could quickly rig a size smaller to get the lift under control again.
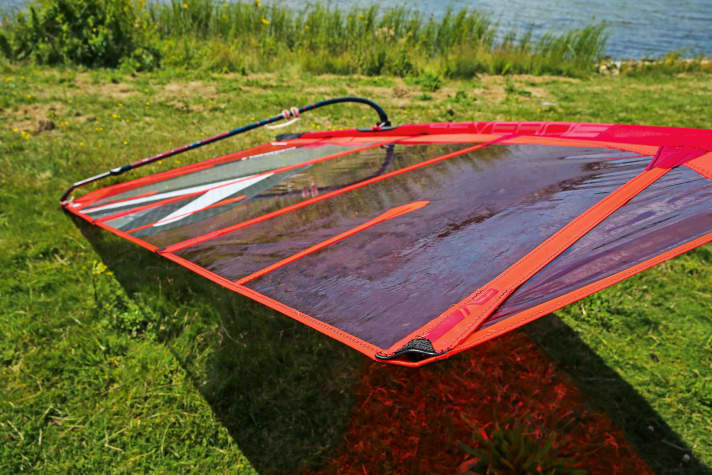
In the following, we'll show you how to take off on your first sightseeing flight. Have fun with it!
The 360 on the foilboard
Look out for a large open area downwind. The radius of the circle is usually quite a bit larger on the foil. In addition, once you have initiated the turn, it is difficult to brake, adjust the radius or avoid someone.
And that brings us to one of the most important points: Compared to the rail and fin, the foil cannot be steered as agilely and radically by foot control. Once initiated, you basically follow the radius that the foil wants to fly down there with your body and simply adjust the sail position. Let the foil do its thing, adapt to the flight and work with the foil rather than against it. A glider cannot make sudden hooks, but glides gently and turns in large radii. And we are basically standing on a small glider here.
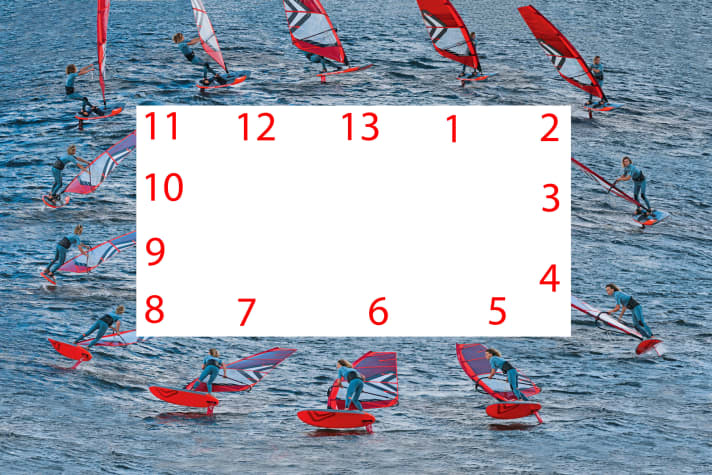
- 1-3)So only shift your weight slowly and sensitively forwards over the tips of your toes onto the windward edge and keep the sail close and aft.
- 4-5)The moment the outhaul turns due to the wind and gets wind from behind, you bend your back arm, keeping the sail open, and get out of the way, so to speak, by leaning far forwards towards the bow and mast.
- 6-7) Don't let the sail pressure push you backwards and avoid the reflex of pushing backwards with your back hand at this moment. This builds up even more pressure and throws you backwards. Or generate lift and let the wing shoot out of the water (see Focus: Control altitude ).
- Only when you are clearly looking straight ahead over the mast onto the water and no longer against the sail do you know that you are far enough ahead - and the sail therefore has enough room to breathe at the back. This allows you to lean cleanly into the turn and turn further into the wind.
- 8-9) Watch out: Now it's getting tricky. When the tip of the board is pointing into the wind, it's time to straighten up and lead out of the turn. To do this, the back hand slowly starts to build up pressure. The sail is now receiving a neutral and precise flow from the front. This means that the pressure will no longer blow you backwards, but you now want to actively build up pressure in order to straighten up and maintain speed.
- 10-11) Okay, we've reached the aforementioned dead centre. The rear arm is now fully extended and the body is almost upright. Now it's all about catching the wind again as quickly as possible - while the foil gets no pressure and floats in the void, so to speak. Stretch both arms out and actively lean backwards to catch the wind. Like a pumping motion, you now push the board forwards onto the new half-wind course.
- 12-13) By putting weight on the back leg, you exert pressure on the foil - this generates lift. If you hang onto the sail at the right moment and have picked up enough speed from the turn, you will glide on as if by magic.
Focus: Control altitude
Too tight a radius, too much pressure in the sail and pushing back with the rear hand can lead to problems with altitude.
Try to fly generally flat at the beginning. The board can touch down briefly in the turn, rather than getting too much air under the wing and going down and forwards. Initiate the turn more gently, lean further forwards over the mast and keep the rear arm neutral until you straighten up. After a few attempts, you will quickly get a better feel for the altitude.
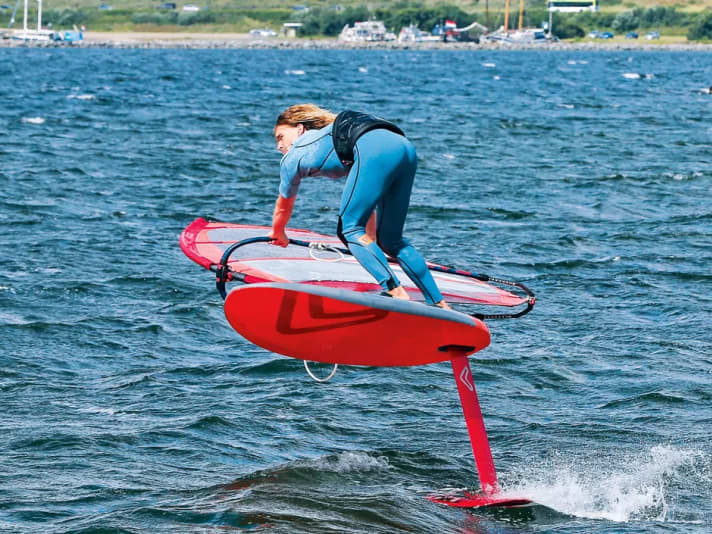
The Switch-Kono on the foilboard
Variant 1: Switch Kono
Some people claim that the moment the foil leaves the water and then perhaps dives in at an angle and stops abruptly on landing, all the magic of foiling is lost.
And to come back to foil style pioneer and freak Balz Müller: Yes, he has already landed and glided through tricks like the Regular Kono completely on the foil. It's simply crazy, extremely difficult and requires a lot of practice, experience and sensitivity for the foil. As ducking the sail in regular stance can be quite hairy on the foil, we want to introduce you to a simpler version here. Perhaps even THE easiest way to get air under the wing and rotate it a little. Whether it looks elegant or is the most superfluous manoeuvre of the year is up to you to decide.
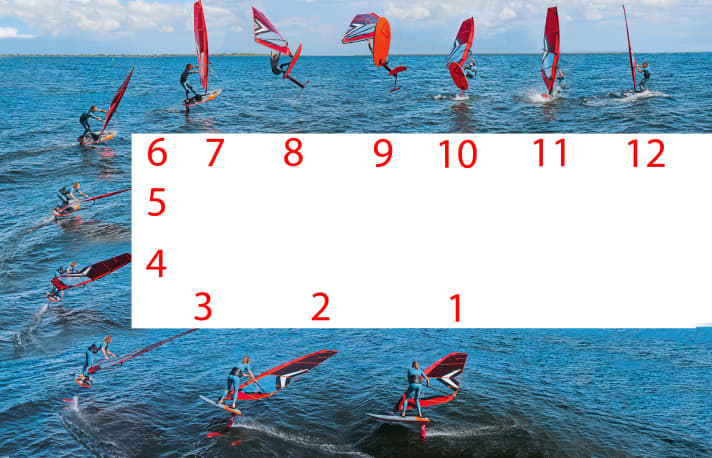
- 1-3)You can initiate the Switch Kono on the foil very nicely - without ducking the sail - from the downwind 360 described above.
- 4)At the moment when you would be leaning far forwards on a 360 on a half-wind course in back and should be slowly getting ready for the exit, you now stay exactly parallel in front of the sail. Bend your knees low and push the foil down in slow motion, as if you were on a trampoline, to load it up for the take-off.
- 5)During the charging phase, you carve a few degrees further into the wind - on a steep upwind course.
- 6-8)When the nose is almost pointing into the wind, straighten up with your arms straight and push as hard as you can into the sail with your back hand. Now it's time to take to the air. The take-off on the foil is later and steeper into the wind than with the fin. This allows the wings to shoot straight out forwards more cleanly, and you can catch the wind with the sail earlier so that you have traction on the sail as soon as possible in a light foil breeze in the air - and don't just fall backwards onto your back.
- 9)At the highest point, you now make yourself small, just like with the Switch Kono on the fin. Bend your legs and actively pull yourself towards the sail.
- 10)Landings on the foil are generally exciting. With the Switch Kono, you should make sure that you dive in with the backwing first, i.e. with a bit of a backward position. This is because the larger front wings (from 1000 cm) displace too much water when landing and would cause the board to tilt heavily if it is slightly out of position. It is therefore easier to let the wing with the least resistance dive in first. To do this, you need to hold the sail slightly open with your back hand at the right moment to keep the nose up during the landing phase. With the normal Switch Kono or Skopu on the fin, the exact opposite applies: you should pull nice and tight to prevent the tail from diving and to land flat and dry. Or to be able to slide further backwards with the Skopu.
- 11-12)Once the foil has dipped backwards, you should shift your weight completely onto the front leg and the mast foot as quickly as possible and tighten the sail to stand upright, find your balance and be able to pick up speed again.
Variant 2: One-handed 360
Just let go of your hand in the middle of the bend - it can look casual and is also a good exercise for keeping the back hand relatively neutral in the bend until the exit. You can also do it without.
Let go of the front hand during the half-wind phase in the turn and move the rear hand forwards over the centre pressure point of the sail - i.e. approximately at the height of the trapeze lines. As soon as the nose is pointing into the wind, the hand must quickly return to it in order to release the 360.
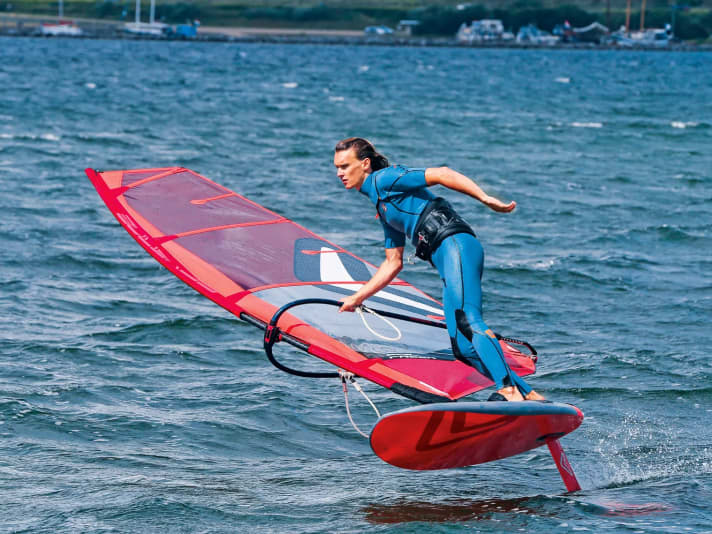
Altitude rush:While it takes a lot of practice and wind with a fin to get upwind on the Kono, the foil allows power moves with just four wind forces. Try it out! A helmet and protective clothing are recommended at the beginning. If you want to protect yourself, can find an overview here->

