In this article, we use so-called affiliate links. With every purchase through these links, we receive a commission from the merchant. All relevant referral links are marked with <icon/>. Learn more.
In this article:
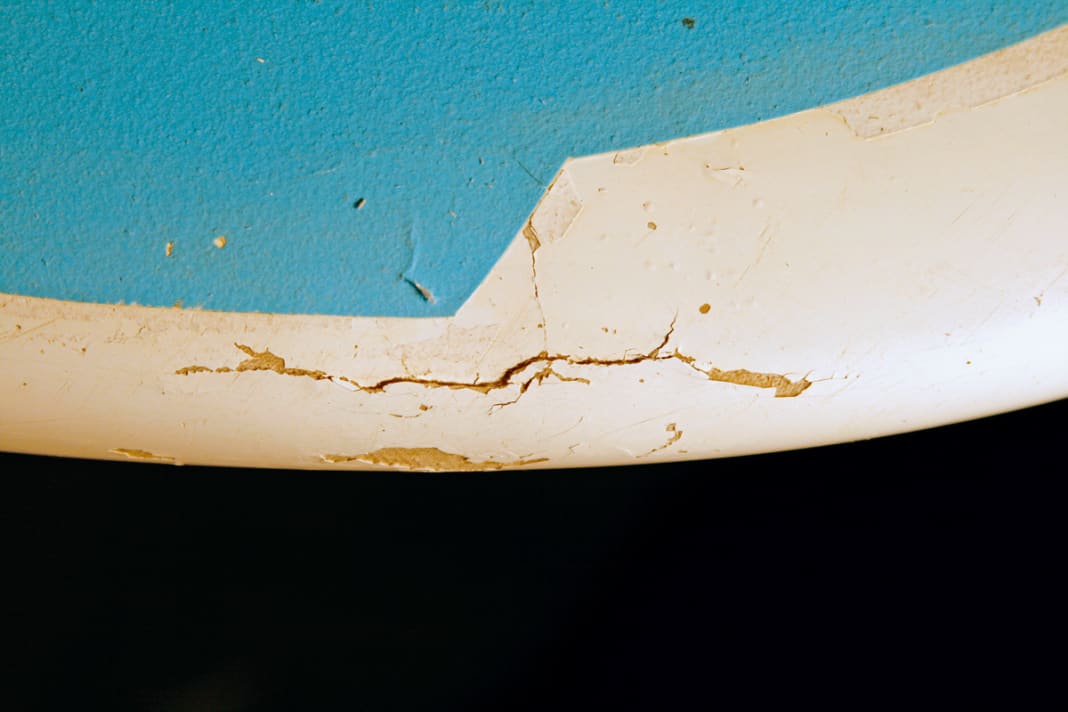
Board repairs are not rocket science, but there are still areas of the board that are better left to a specialist. This is the case:
- For soft spots or damage in the standing area
- For cracks or soft spots under the pads, on the rails under the pads, as well as on the mast track or fin boxes.
- In the event of major damage where the polystyrene core has been damaged
- When the look needs to be perfect.
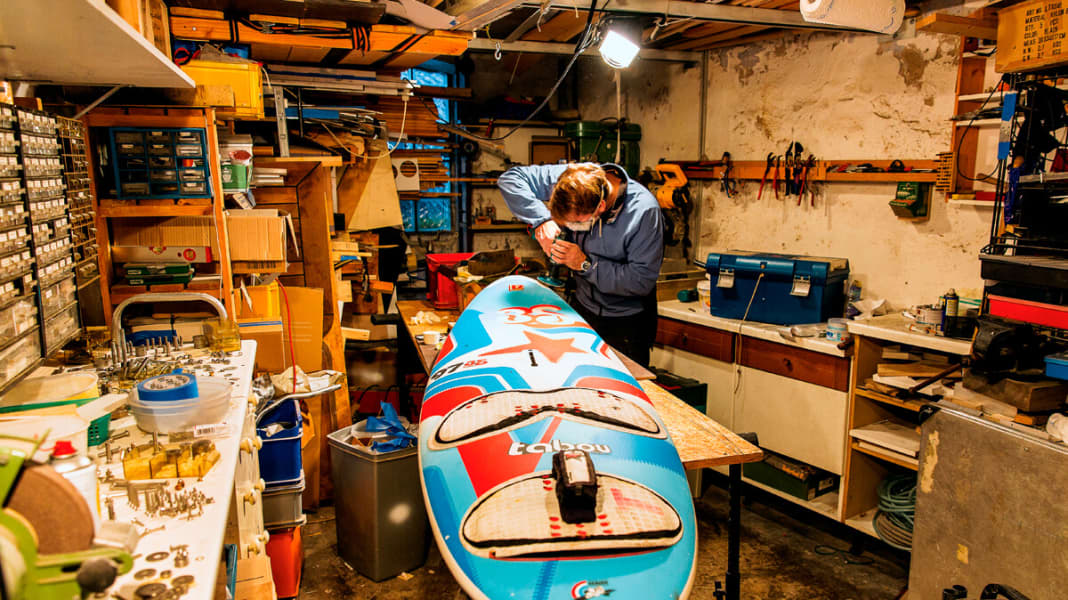
Below we'll show you everything you need to know about repairing windsurfing boards, and at the end of the article you'll find an overview of the most popular quick repair kits.
Laminating or quick repair?
The decisive factor for durability is always the fabric, never the adhesive used. The following therefore applies: A quick repair is sufficient for small holes and imperfections (see below for materials); larger tears in the fabric should be laminated. Complete kits such as the "Rigo Epoxy Repair Kit" or the "Big Ding Epoxy Repair Kit" are ideal for occasional repairs or when travelling. These kits are available in many (online) surf shops.
The polyester trap
Repair kits for polyester and epoxy are available to buy. Windsurf boards are laminated with epoxy resin, boats or kayaks are often laminated with polyester resin. Polyester is somewhat more brittle and hardens more quickly, but attacks the foam cores of surfboards, which can lead to a larger hole in the board afterwards than before. You should therefore always opt for epoxy resins!
What else do I need?
The kits mentioned include sandpaper, rubber gloves, resin pot, brushes, fibreglass mats, epoxy resin and hardener. You will also need scissors, cloths, a sharp (!) cutter knife and - ideally - a cordless screwdriver with a cylindrical sander.
Mixing resin and hardener - what is important?
Only mix when everything is ready. Important: Observe the exact mixing ratio! Even for small repairs, it is better to mix a little more resin, the larger the total volume, the less mixing inaccuracies will matter. As soon as you mix the resin and hardener, the clock starts ticking. The curing time of epoxy depends on the ambient temperature, the warmer it is, the less time you have. At room temperature, epoxy can be processed for around 30 minutes to an hour, so it is advisable to cut three to four layers of glass mats into large, rectangular pieces before mixing the resin.

Instructions: How to repair your windsurfing board
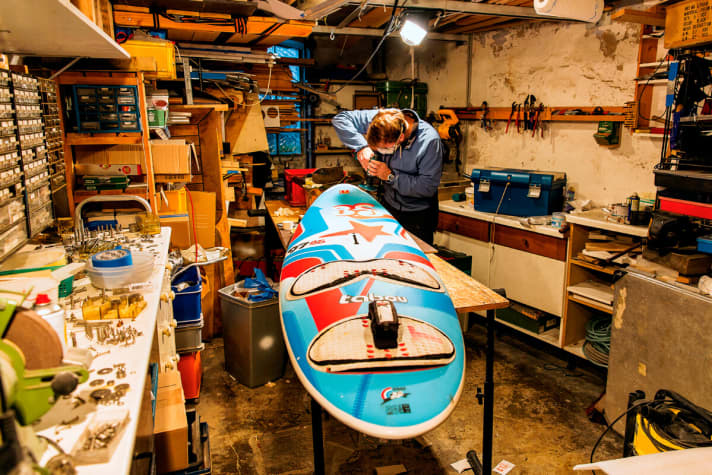
Once you have prepared everything, you can start laminating. You can find the individual steps in the following picture gallery:


A lot of heat is released when epoxy resin reacts with hardener. Therefore, use a pot with a large surface area for the mixture so that the heat can be released and the resin-hardener mixture does not harden during processing.
How do you get a nice finish? The repair area (Fig. 12) is still too rough to be painted in a visually appealing way. If you also want to enhance the appearance of your board, you can apply a thin layer of epoxy filler (e.g. M2 epoxy filler), allow to harden and sand again. The coarse pores of the glass fabric are then sealed and smoothed. You can then mask off the repair area and carefully apply several coats of a matching colour finish using a can of car paint.
The best products for quick repairs on windsurfing boards
You don't always have to laminate - small quivers can be patched up without hesitation using the following materials. Find out the advantages and disadvantages of the individual products and which ones should definitely be in your board bag before your next trip:
Group 1: Two-component kits
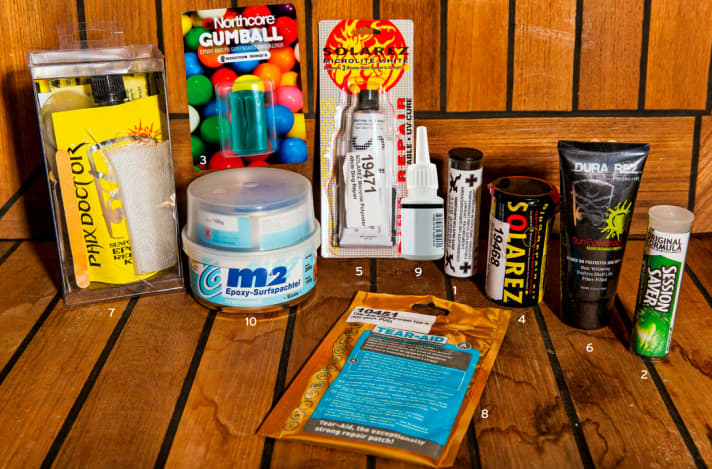
Ding Stick (without picture), Session Saver (2), Tekkno Stick (1) or Gumball (3) - many names, but the same thing is hidden behind them: A two-component kit from which you cut off a piece, knead it until the mass turns white and seal the area with it. Important: Sand beforehand and moisten your fingers a little!
Mixing ratio automatically correct; also hardens in water; independent of UV radiation; quick-drying (approx. 15 minutes); no sanding required
Longer drying time in cold weather; not very durable for extensive repairs
Source of supply: In almost every surf shop
surf conclusion: Indispensable where you can't always rely on the sun!
Group 2: UV-curing materials
Solarez (4/5), Dura Rez (6) and the Phix Doctor Set (7) are based on UV-curing epoxy. The Phix Doctor set also includes glass mats and accessories for larger repairs. Dry the area, sand and apply the material in the shade. The resins are mixed with microballoons - a filler made of small glass fibre shreds - and the resin can be smoothed out with the films supplied (hardly any sanding necessary). Only then expose to the sun.
hardens within a very short time (2-5 minutes in direct sunlight); temperature-independent; also suitable for filling deep holes that are to be laminated afterwards; permanent repair
Often very delayed curing in moderate sunlight
Source of supply: In the surf shop or HERE
surf conclusion: The best choice when travelling south! A two-component kit is perfect as a supplement.
Group 3: Other adhesive materials
Tear Aid (8): PVC adhesive film, which - according to the manufacturer - should also be suitable for surfboards. Sand the area, degrease with the enclosed alcohol wipes, stick on, done!
independent of sun & temperature
not very durable in the underwater hull and on the deck (non skid paint); does not provide strength.
Source of supply: www.tt-project.com
surf conclusion: Less recommended for surfboards, good for inflatable SUPs.
Group 4: Superglue
For example from Conrad: Reacts within seconds due to the moisture in the air. Use pure for small hairline cracks, otherwise in combination with "filler for superglue".
extremely fast; independent of sun and temperature
Take care with deep holes: Contact with the foam core will dissolve it.
Source of supply: DIY store & model making
surf conclusion: All-purpose weapon for hairline cracks!
Group 5: Epoxy putty
M2 epoxy fillerMix (10) and hardener in a ratio of 2:1, smooth over the area (old EC cards are perfect) and allow to harden.
good sandability and recoatability
Longer drying time in cold weather; not permanent for extensive repairs
Source of supply: Surfshops & www.ascan.info
surf conclusion: Actually only suitable for finishing, but the bottom line is that it's too cumbersome!
Ventilation screw on the windsurfing board open or closed?
When you come out of the cold water, the air in the board expands due to the heat and pushes outwards, causing the repair material to come loose again. Therefore: open the ventilation screw and carry out the repair in the shade. If the difference between the air and water temperature is very large, you should give the board 60 minutes to equalise the pressure difference.
Also interesting:

Manuel Vogel
Editor surf
Manuel Vogel, born in 1981, lives in Kiel and learned to windsurf at the age of six at his father's surf school. In 1997, he completed his training as a windsurfing instructor and worked for over 15 years as a windsurfing instructor in various centers, at Kiel University sports and in the coaching team of the “Young Guns” freestyle camps. He has been part of the surf test team since 2003. After completing his teaching degree in 2013, he followed his heart and started as editor of surf magazine for the test and riding technique sections. Since 2021, he has also been active in wingfoiling - mainly at his home spots on the Baltic Sea or in the waves of Denmark.
